Buying a new power tool is usually the fun part. You bring it home, open the box, charge the battery, and start using it.
The less exciting part is keeping track of the details you may need later: the receipt, model number, serial number, warranty date, manual, accessories, and maintenance notes. Those details are easy to ignore in the moment, but they matter when something breaks, goes missing, needs service, or gets loaned out.
The good news is that you can handle most of this in about five minutes.
Here is a simple checklist to follow the next time you buy a power tool.
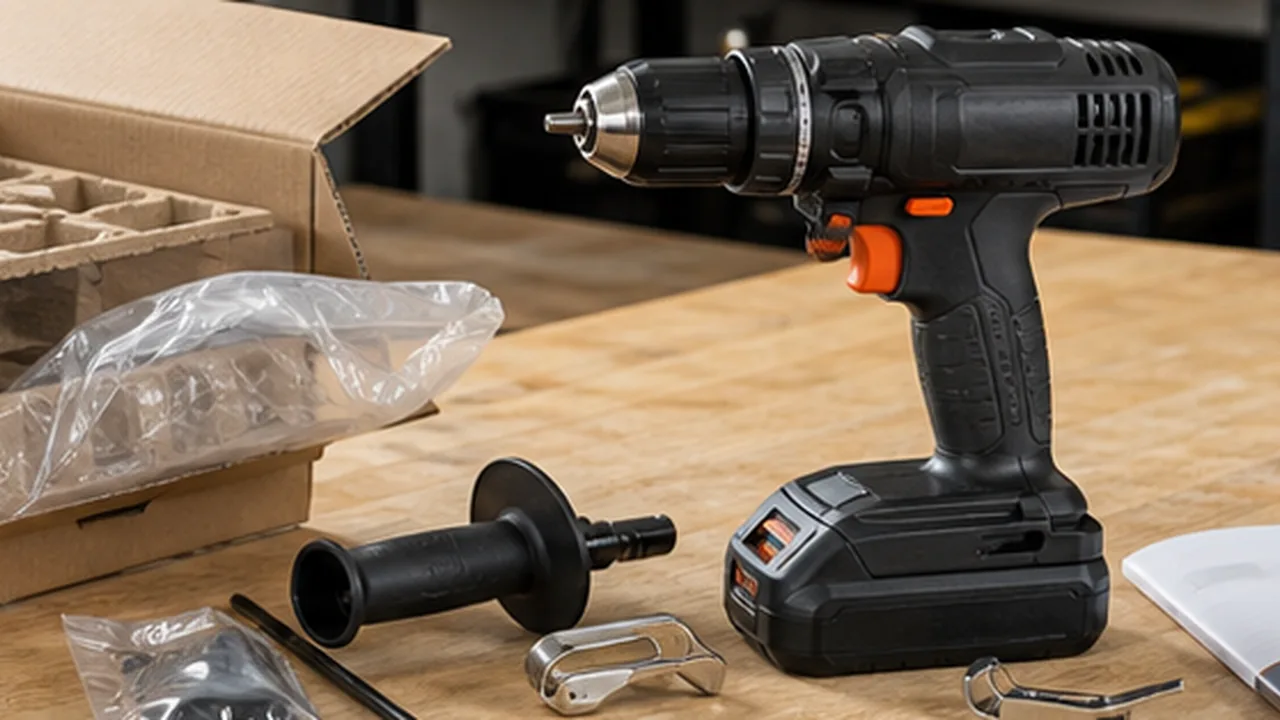
1. Take a photo of the tool
Start by taking a clear photo of the tool itself. If it came in a kit, take a photo of everything together: the tool, case, charger, batteries, bits, blades, guide rails, attachments, or other included accessories.
This gives you a quick visual record of what you bought and what originally came with it. That can be helpful later if you sell the tool, lend it out, file a claim, or try to remember which battery or case belongs with it.
2. Record the brand, model, and serial number
The model number and serial number are two of the most important details to save.
The model number helps identify the exact version of the tool. This matters for replacement parts, manuals, batteries, accessories, blades, and service information. The serial number helps prove ownership and may be needed for warranty support.
Look for a label or plate on the tool body. It may be near the battery slot, motor housing, handle, base, or nameplate. Take a close-up photo of the label if it is readable.
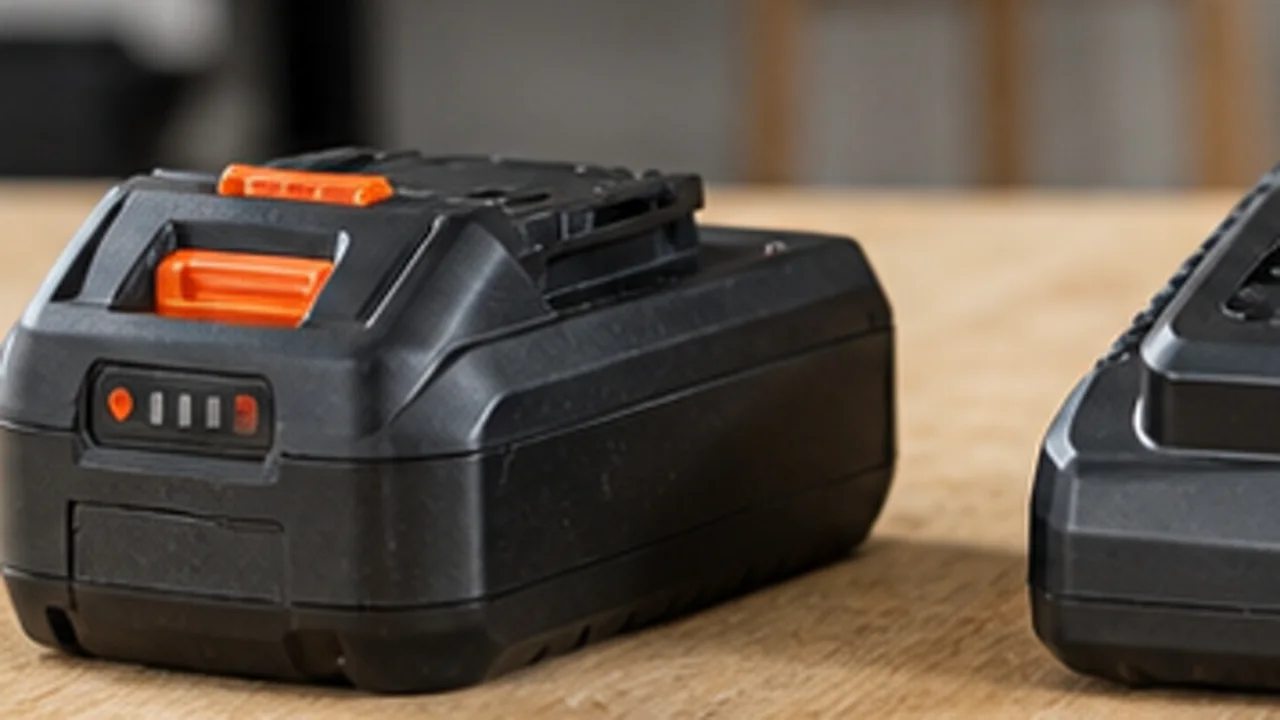
3. Save the receipt right away
Paper receipts are easy to lose and can fade over time. Email receipts are better, but they can still be hard to find months or years later.
Before you put the tool away, save a copy of the receipt. Take a photo of the paper receipt or save the digital receipt as a file. Make sure the store name, purchase date, price, and item description are visible.
This can help with returns, warranty claims, rebates, insurance records, and resale.
4. Check the warranty details
Not every tool has the same warranty rules. Some warranties are automatic. Others require registration within a certain time. Some cover the tool but not batteries, chargers, blades, bits, or wear items.
After buying a new tool, check:
- Warranty length
- Whether registration is required
- What is covered
- What is excluded
- Whether batteries and chargers have separate coverage
- The purchase date needed for warranty proof
You do not need to memorize the policy. Just save the important dates and documents somewhere easy to find.
5. Download or save the manual
Manuals are often ignored until you need one. But they can be useful for more than basic operating instructions.
A manual may include:
- Maintenance instructions
- Blade, bit, oil, or filter specifications
- Safety information
- Troubleshooting steps
- Replacement part numbers
- Service intervals
- Assembly diagrams
If the tool came with a paper manual, keep it or scan it. If the manufacturer provides a PDF version, save that too.
6. Write down where the tool will live
A new tool needs a home. That could be a drawer, cabinet, shelf, tool chest, garage wall, truck box, or storage case.
Recording the storage location may seem unnecessary at first, but it becomes useful as your tool collection grows. It also helps when other people in your household use the same tools.
A simple location note like “garage cabinet,” “miter saw station,” or “truck box” is enough.
7. Add a maintenance reminder if needed
Some tools require regular maintenance. Others only need occasional inspection.
For example:
- Clean sawdust from vents
- Inspect cords and batteries
- Sharpen or replace blades
- Check oil in outdoor power equipment
- Clean filters
- Run seasonal equipment before it is needed
- Charge batteries before long storage
If the tool has a maintenance schedule, record it while the manual and receipt are still in front of you.
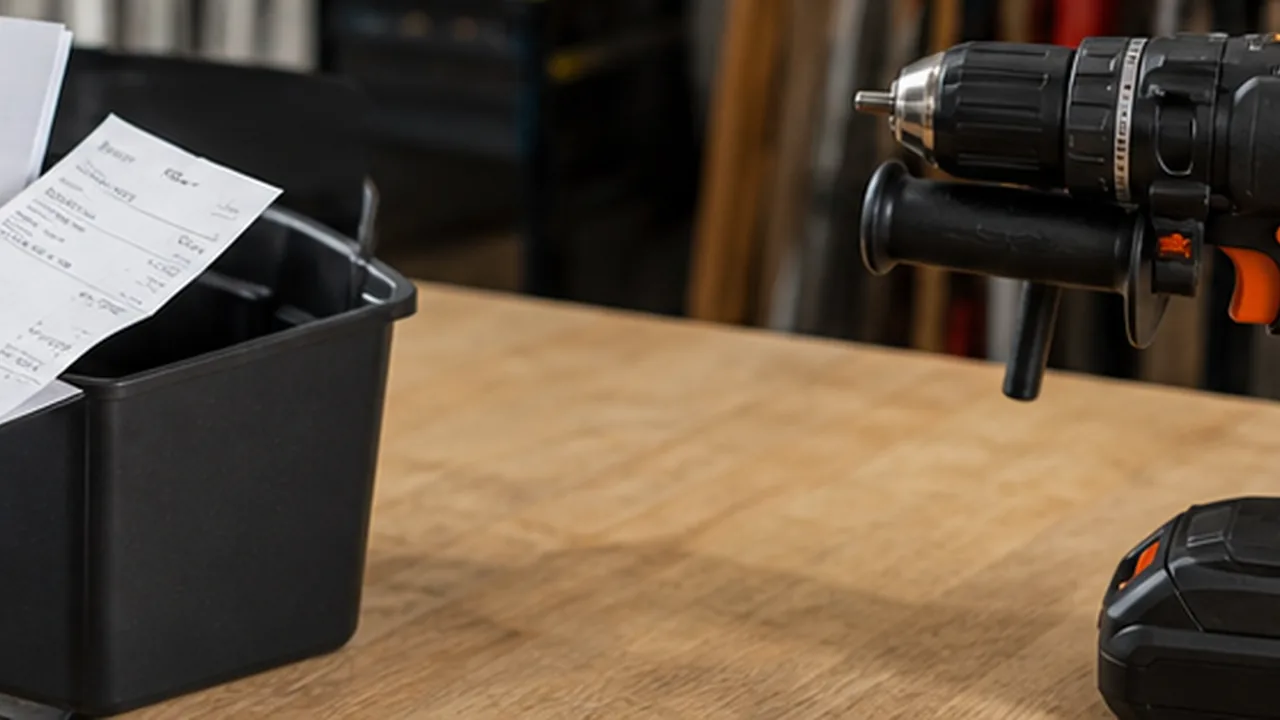
8. Note important accessories
Many tools are only useful because of the accessories that go with them. Batteries, chargers, guide fences, blades, bits, cases, dust bags, hoses, and adapters can easily get separated.
Write down what came with the tool. This is especially useful for kits and cordless systems.
If you ever loan the tool out, you will know exactly what should come back.
A simpler way to manage new tool records
You can do this checklist with a notebook, spreadsheet, photo album, or cloud folder. The key is making it part of your routine when you buy something new.
ToolMark makes that routine easier by giving each tool a dedicated place for photos, receipts, manuals, warranty details, maintenance reminders, and loan information. Instead of scattering those details across email, paper folders, and phone photos, you can keep them tied to the tool they belong to.
Make it a habit
The best time to record a tool is the day you buy it. The box is still nearby, the receipt is easy to find, the manual has not been thrown away, and the model number is simple to confirm.
Five minutes now can save a lot of searching later.